
The skirt portion was easy-peasy. 4 pieces, 4 darts and voila. This is where things get fun but tedious, installing the closure. The pattern called for either a placket closure or a slide. I hate to hand sew buttons and snaps to slide closure it was. The fun part is the type of slide closure. There was the ghetto way that I first used when starting out, this is the one where you they to install a zipper without a zipper foot or any education but done right, it's a Slash zipper. There is also the "invisible" zipper which I love as it is clean and simple to do. My chosen, was a side seam zipper, where the zipper is hidden beneath a small flap of fabric.
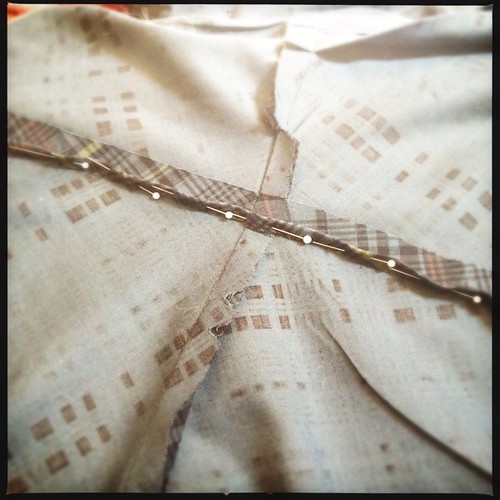
Start by ironing the fabric pieces open and flat. Taking the piece from the back of the dress, fold the fabric in half, pin and iron.
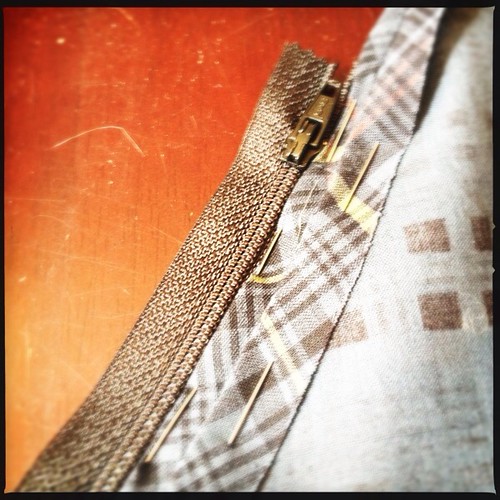
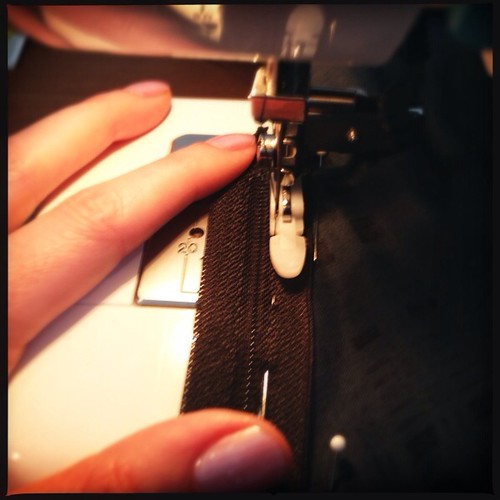
Take the zipper and pin it to the folded material and with your zipper foot attached, carefully run the needle as close as possible to the zipper teeth.
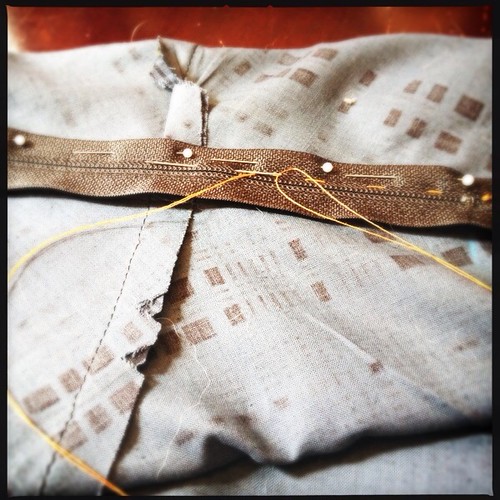
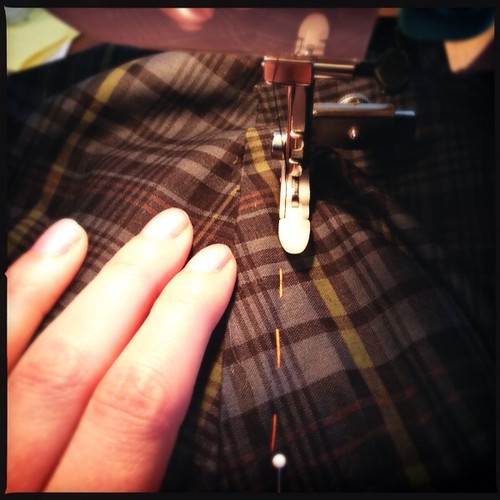
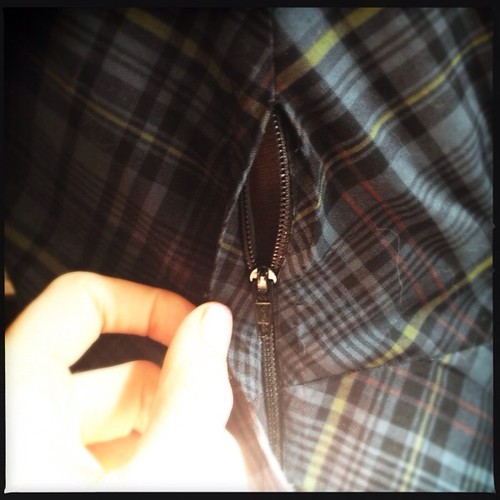
Open up the dress so that the zipper is layer across both halves of the dress. Now for the fun part. Run a needle and contrast thread along the side of the zipper not yet stitched to the dress, as close to the teeth as you can. This is to create a guide to run the zipper foot down. Turn the dress over and place into the machine and sew down the guide line. Remove the contrast thread, open the stitching to expose the zipper and admire your work.
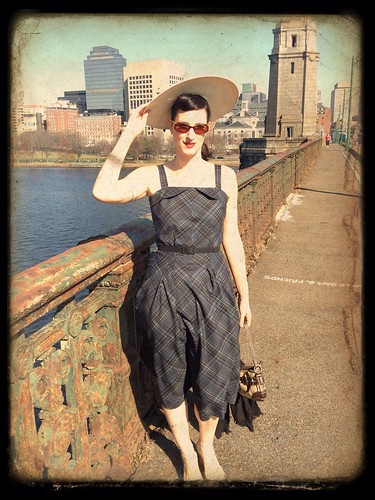
I turned in the hem and ran out of the house to enjoy the weather before being able to complete the matching belt. This didn't deter me, I pulled out a black belt to use until I complete the belt and buckle and hit the town.
No comments:
Post a Comment